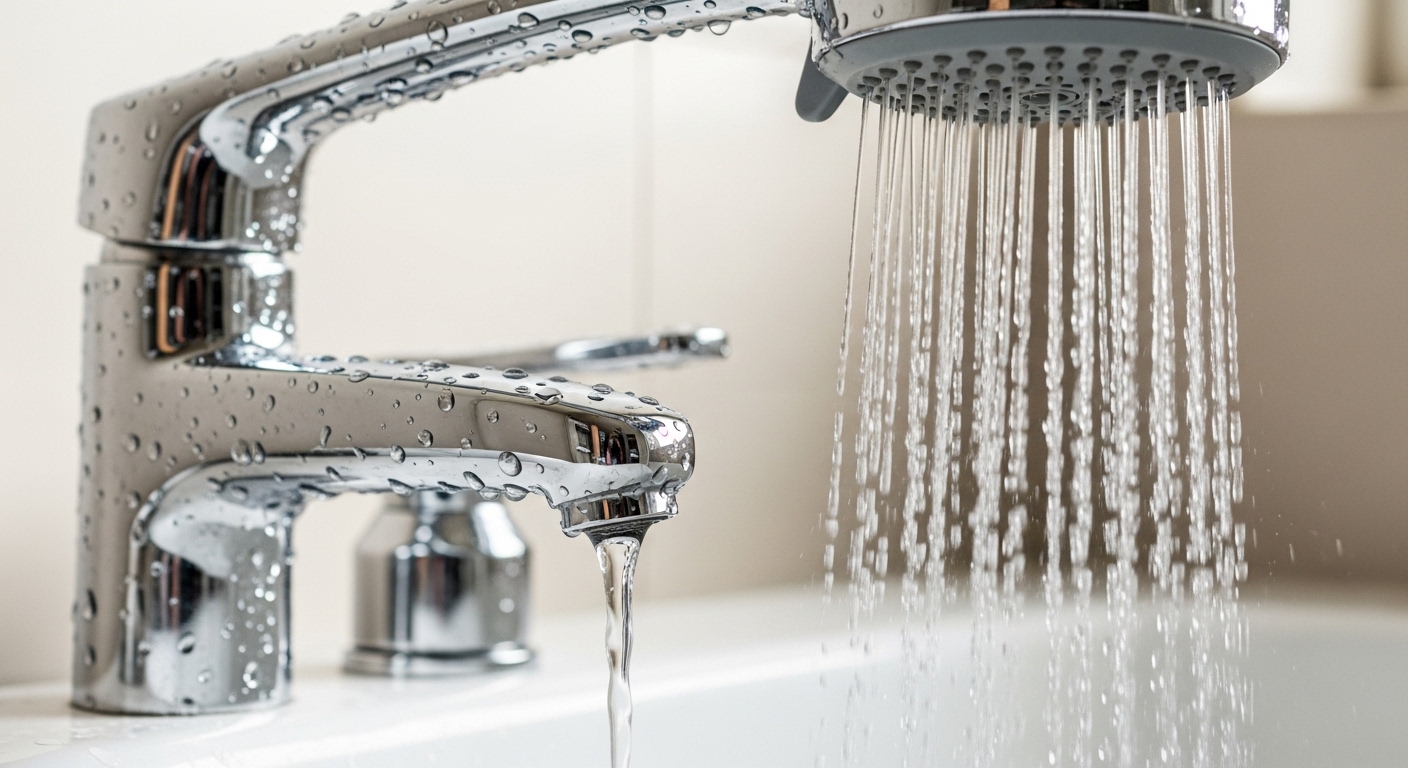
If your bathroom tub faucet is leaking when the shower is on — water dribbling or streaming out of the tub spout while you’re trying to shower — the problem is a worn or clogged diverter, not your showerhead and not your water pressure. The diverter is the little mechanism that’s supposed to block the spout so 100% of the flow gets forced upward to the shower. When it wears out, water takes the path of least resistance and leaks back out the tub spout. Below I’ll walk you through exactly why it happens, how to tell which type of diverter you have, and how to fix each one step by step.
Why is water coming out of the tub spout when the shower is running?
Water comes out of the tub spout during a shower because the diverter isn’t fully sealing. That’s the whole story 90% of the time. The diverter’s only job is to create a watertight block inside the spout (or in the valve body) so pressurized water is forced up the riser pipe to the showerhead instead of falling back out the spout.
There are three common failure points, and knowing which one you have tells you exactly what to buy:
- Pull-up diverter (gate in the spout): The little knob you lift on top of the spout. A rubber washer or gate inside the spout is worn, cracked, or gummed up with mineral scale, so it no longer seals. This is the single most common cause of a leaking tub spout during a shower.
- Rotating/lever diverter on the wall: A separate handle or a third knob on the valve trim that you turn to switch to shower mode. Inside is a diverter cartridge or a rubber-tipped stem that has hardened or worn flat.
- Tee/valve-body diverter behind the wall: On some older single- and multi-handle valves, the diverter sits inside the valve body. Wear or debris there lets water bleed back down to the spout.
A small trickle from the spout is normal for the first second or two as pressure builds — that’s fine. What’s not fine is a continuous stream, a steady drip, or losing noticeable pressure at the showerhead. Those are the signs your diverter has actually failed and needs service.
How do I know which type of tub diverter I have?
Look at where you switch from tub to shower — that tells you your diverter type in about five seconds. If you pull a little knob up on top of the spout itself, you have a pull-up (spout) diverter. If you turn a separate handle or a third knob on the wall trim, you have a rotating/valve diverter.
Here’s a quick reference to match your setup to the fix:
| Diverter type | How you switch to shower | Most likely fix | Typical cost & time |
|---|---|---|---|
| Pull-up spout diverter | Lift a knob on top of the spout | Replace the entire tub spout | $10–$25 · 20–30 min |
| Rotating wall diverter (3rd knob) | Turn a separate diverter knob | Replace diverter stem or cartridge | $8–$30 · 30–60 min |
| Single-handle valve diverter | Pull or push the main handle | Replace the main cartridge | $15–$45 · 45–60 min |
| Valve-body tee diverter | Twist a lever on the valve trim | Replace diverter tee inside valve | $20–$50 · 60+ min |
If you’re not sure whether your spout is the pull-up kind, run your fingers over the top — a small vertical knob or lever near the end of the spout means it’s a diverter spout. A smooth spout with no knob means your diverter is up in the valve trim on the wall.
How do I fix a leaking pull-up diverter spout myself?
For a pull-up diverter, the easiest and most reliable fix is to replace the whole spout — the diverter gate is built into the spout and usually isn’t sold separately, and a new spout costs less than the time you’d spend rebuilding the old one. Here’s the process:
- Identify how the spout attaches. Look underneath the spout where it meets the wall. A small setscrew (needs an Allen/hex key) means it’s a slip-on spout on a copper stub-out. No setscrew means it’s a threaded spout that screws onto a pipe nipple.
- Remove the old spout. For a setscrew spout, loosen the screw and slide it straight off. For a threaded spout, turn it counterclockwise — a cloth-wrapped pipe wrench or a large screwdriver inserted into the spout opening for leverage works well. Go slow so you don’t crack old pipe.
- Measure before you buy. Note the spout length and, critically, whether it’s slip-on (smooth 1/2″ copper stub) or threaded (1/2″ NPT). Bring the old spout to the store or match it online. This is where most DIYers go wrong — buying the wrong connection type.
- Install the new spout. Wrap threads with plumber’s tape (2–3 wraps) for threaded types. For slip-on, add the supplied O-ring and a bead of clear silicone at the wall for a clean seal, then tighten the setscrew.
- Test. Run the tub, pull the diverter, and confirm all the water now goes to the showerhead with no leak at the spout.
If your spout is stuck fast from corrosion, don’t force it — over-torquing can snap the pipe inside the wall, which turns a $15 job into a real repair. Our guide on handling corroded faucet removal without snapping the pipe walks through penetrating oil, heat, and controlled leverage for exactly this situation.
How do I fix a rotating or valve-body diverter that won’t seal?
For a wall-mounted rotating diverter, the fix is to replace the diverter stem or cartridge inside the valve — the rubber tip or seal on it has worn flat. This is a bit more involved than a spout swap but still very doable in under an hour, and it’s the same family of skills as any cartridge job.
Always shut off the water first. Close the bathroom’s supply stops if you have them, or shut off the main. Then open the faucet to drain the lines.
- Pop off the diverter knob/handle. Pry off the decorative cap, remove the screw underneath, and pull the handle straight off.
- Remove the trim and bonnet nut. Unscrew the escutcheon and expose the diverter stem or cartridge. You’ll likely need a deep socket or a tub socket wrench for the bonnet nut.
- Pull the old stem/cartridge. Note its orientation. Take it with you to match brand and model — Moen, Delta, Kohler, Price Pfister, and others each use their own diverter cartridges, and they are not interchangeable.
- Install the new one. Lubricate the new O-rings with plumber’s silicone grease, seat it in the same orientation, and reassemble. Don’t over-tighten — snug plus a quarter turn.
- Restore water and test. Turn the supply back on slowly, then run the shower and confirm the spout stays dry.
The mechanics here overlap almost exactly with fixing a dripping faucet stem, so if you want a more detailed cartridge/stem walkthrough with photos, see our step-by-step on replacing a bathroom faucet stem that keeps dripping. And if the diverter knob itself feels stuck or grinds when you turn it, that can point to scale buildup or a seized mechanism — we cover freeing that up in why your bathtub faucet is jammed and how to fix it.
Can hard water and mineral buildup cause a tub faucet to leak during a shower?
Yes — hard water is one of the top hidden causes of a diverter that suddenly stops sealing. Calcium and magnesium scale builds up on the rubber gate or seal and on the seat it presses against, so even a healthy diverter can’t close fully. If you live in a hard-water area and your leak came on gradually, scale is a prime suspect.
Before you replace anything, it’s worth trying a descale:
- For pull-up spouts: Remove the spout, soak it in a 1:1 white vinegar and warm water solution for 2–4 hours, then work the diverter knob up and down and flush it out. Sometimes this alone restores the seal.
- For rotating diverters: Soak the removed stem/cartridge and clear scale from the valve seat with a soft brush and vinegar.
- Prevention: If your whole bathroom fights scale — clogged aerators, crusty showerheads, stiff diverters — hard water is the root cause, and it shortens the life of every rubber seal in the system.
Descaling can buy you months, but once a rubber diverter seal is cracked or permanently deformed, cleaning won’t bring it back — you’ll need to replace the part. If you’re already shopping for a new spout, this is also a good moment to think about upgrades; our overview of choosing the right bathtub faucet attachment covers spout styles, diverter types, and handheld-friendly options that resist buildup better.
When is a leaking tub faucet during a shower NOT a simple DIY fix?
Call a pro if the leak is behind the wall, the pipe is corroded to the point of crumbling, or you have a valve-body diverter on an old three-handle setup that needs the whole valve serviced. These are the cases where forcing it yourself risks a burst pipe or water inside the wall cavity.
Specific red flags that mean stop-and-call:
- Water staining on the ceiling below the bathroom or on the wall around the valve — that’s a hidden leak, not just a spout leak.
- The pipe nipple behind the spout is visibly corroded, flaking, or the spout won’t budge with reasonable force.
- A three-handle valve where hot, cold, and diverter are separate — parts are often obsolete and the fix can require replacing the valve body.
- You’ve already replaced the diverter and the spout still leaks — the problem is upstream in the valve cartridge or seats.
For the vast majority of homes, though — a modern single-handle or two-handle tub/shower with a pull-up or rotating diverter — this is a genuine 30–60 minute DIY repair with a part that costs less than a takeout dinner.
FAQ
Is it bad to keep showering with a leaking tub faucet?
It won’t flood your bathroom, but it wastes water and pressure, and it usually gets worse over time. A failing diverter also means the showerhead never gets full flow, so your shower feels weak. It’s a low-urgency fix, but not one worth ignoring for months — the wasted hot water alone can add up on your bill.
How much does it cost to fix a tub faucet that leaks when the shower is on?
DIY, it’s usually $10–$50 in parts: about $10–$25 for a replacement diverter spout, or $8–$45 for a diverter stem or cartridge. If you hire a plumber, expect roughly $100–$250 including labor, more if the valve body needs replacing. The part cost is small; the labor is what you save by doing it yourself.
Do I need to replace the whole tub spout or just the diverter?
For pull-up diverter spouts, replace the whole spout — the diverter gate is built in and rarely sold separately, so a new spout is the practical fix. For rotating wall diverters, you replace just the stem or cartridge, not the spout. Match your switching mechanism to the right part before buying.
Can a bad showerhead cause water to leak from the tub spout?
No. A clogged showerhead can slightly increase back-pressure, but it can’t make a properly sealing diverter leak. If water comes out the spout during a shower, the diverter is the problem, not the showerhead. Cleaning your showerhead won’t fix a spout leak.
Why does my tub spout leak only a little at first and then stop?
A brief trickle for the first one to two seconds while pressure builds is completely normal — the diverter needs a moment to seat under flow. If it stops and the showerhead runs strong, nothing is wrong. Only a continuous stream or a steady loss of shower pressure means the diverter has actually failed.
How long does a tub diverter last before it leaks?
A rubber diverter seal typically lasts 5–10 years, but hard water can cut that to just 2–3 years. If yours failed early and you have scale buildup elsewhere in the bathroom, address the water hardness or you’ll be replacing diverters again. Silicone-lubricated, quality-brand cartridges tend to last the longest.
A note on trusting this repair
This guide was written by the Adeaga fixtures team, drawing on hands-on servicing of hundreds of tub and shower diverters across Moen, Delta, Kohler, and Price Pfister valves. Adeaga specializes exclusively in faucets and bathroom fixtures — spouts, cartridges, diverters, and trim — so the steps here reflect how these parts actually fail and get repaired in real bathrooms, not generic advice. When you replace a diverter or spout, always confirm the part meets ASME A112.18.1 / CSA B125.1 plumbing standards and check the manufacturer’s warranty — most quality tub spouts and cartridges carry a limited lifetime warranty on the finish and function, which is worth registering after installation. If in doubt about your valve type, match the old part to the manufacturer before buying.