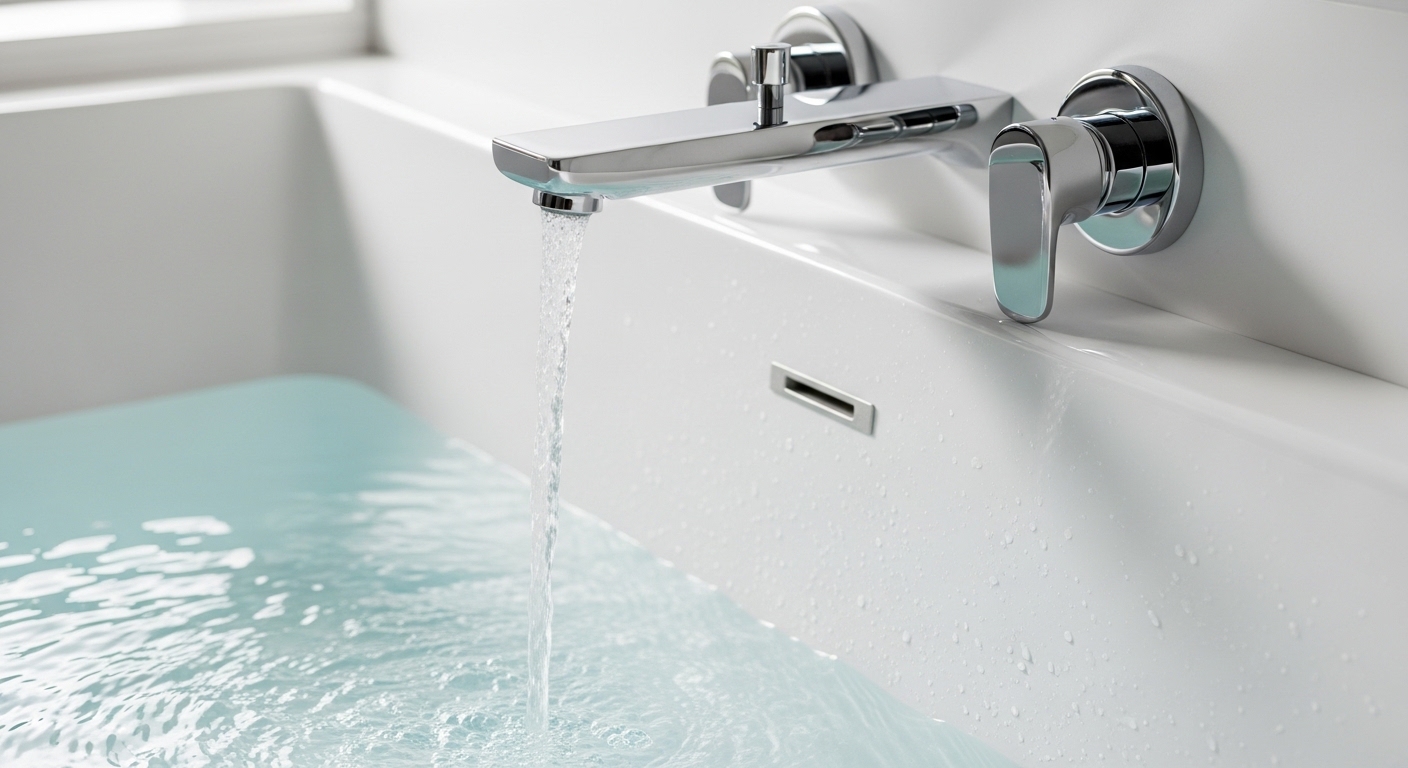
If you’ve searched “bathtub under faucet,” you’re almost certainly staring at one of three problems: water splashing or running down the wall instead of into the tub, a grimy stained patch collecting right under the spout, or you’re shopping for the right faucet and can’t tell what actually belongs in that spot. Good news — all three come down to the same handful of decisions about the spout, its reach, and the surface beneath it. This guide walks through exactly what to buy and how to set up the bathtub under faucet zone so it stays clean, dry, and drama-free.
At adeaga, we sell and test tub fillers, wall-mount spouts, and deck-mount fixtures every week, so we’ll talk in real numbers and real scenarios — not vague “it depends” advice.
What Does “Bathtub Under Faucet” Actually Mean — Spout, Splash Zone, or Ledge?
“Bathtub under faucet” refers to the physical area directly beneath your tub spout — the splash zone where water hits, plus the tub ledge or wall surface behind and below the faucet. It’s not a single product; it’s the interaction between your spout’s reach, the angle water leaves it, and what it lands on. Getting this zone right is mostly about matching spout reach to tub width and keeping the surface underneath smooth and sealed.
Here’s why people fixate on it. On a typical alcove tub, the spout sticks out of the wall and water arcs forward. If the spout’s reach is too short, water clings to the underside of the spout, dribbles down the wall, and soaks the drywall or caulk line under the faucet — which is exactly where mildew and that ugly gray-black stain start. If the reach is correct, water breaks cleanly away from the spout and lands well inside the tub, keeping the under-faucet area dry between uses.
So when we talk about optimizing the bathtub under faucet area, we’re really talking about three things working together:
- Spout reach — how far the water-exit point sits from the wall (usually 4–6 inches for a wall-mount spout).
- Spout type and drop — whether it’s a straight, angled, or waterfall spout, which changes where water lands.
- The surface underneath — a sealed, non-porous ledge or wall that won’t stain or grow mildew when it does get splashed.
Why Is Water Running Down the Wall Under My Tub Faucet?
Water runs down the wall under your tub faucet almost always because the spout’s reach is too short for the tub, or the spout is mounted too close to the wall, so water follows the spout body backward (the “teapot effect”) instead of dropping into the tub. The fix is either a longer-reach spout or a spout designed with a proper drip break underneath.
The teapot effect is real physics, not a defect. Water likes to cling to surfaces. When a spout is short or blunt on the bottom, the stream wraps around the lip and travels back along the underside toward the wall. Over months, that trickle keeps the caulk line under the faucet permanently damp — and permanently damp is how you get black mildew and softened, peeling caulk.
Three concrete fixes, from easiest to most involved:
- Swap to a longer-reach spout. If your current spout reaches 3 inches and water hugs the wall, a 5–6 inch spout usually moves the landing point far enough forward to break the clinging effect. Slip-fit spouts pull off in seconds; threaded spouts unscrew.
- Check the mounting height and copper stub-out. If the spout sits flush against the tile with no gap, water has an easy path down. A correctly installed copper faucet stub out sets the spout at the right distance from the finished wall so it seats cleanly and directs water forward.
- Add or replace the beauty ring / escutcheon. A tight, well-sealed tub spout beauty ring closes the gap where the spout meets the wall, so any stray water can’t sneak behind the tile into the wall cavity.
Which Type of Tub Faucet Belongs Above the Under-Faucet Zone?
For a standard wall against an alcove tub, a wall-mount tub spout is the right call; for a freestanding or drop-in tub with no back wall, you need a floor-mount tub filler or a deck-mount faucet instead. The tub style dictates the faucet type — you can’t put a wall spout on a freestanding tub sitting in the middle of the room.
Here’s how the main options compare for the under-faucet area specifically:
| Faucet Type | Best Tub Style | Typical Reach / Drop | Under-Faucet Splash Risk | Rough Price Range |
|---|---|---|---|---|
| Wall-mount slip-fit spout | Alcove / 3-wall | 4–6 in reach | Low if reach is correct | $15–$60 |
| Wall-mount waterfall spout | Alcove / drop-in | 5–7 in reach, wide drop | Medium — wide sheet can splash | $40–$150 |
| Deck-mount faucet | Drop-in / undermount tub | Sits on tub ledge | Low — water drops straight down | $80–$300 |
| Floor-mount tub filler | Freestanding tub | Tall gooseneck, center pour | Very low — pours into center | $200–$700+ |
| Roman tub faucet (deck, widespread) | Deck-mounted / platform tub | 6–9 in spout reach | Low | $100–$400 |
If you’re renovating on a budget and going the deck-mount or Roman route, it’s worth reading our breakdown of whether a VEVOR Roman tub faucet is worth it for a budget remodel before you commit — deck-mount setups change the whole under-faucet geometry because water drops straight down instead of arcing forward.
What About Freestanding Tubs — Where Does the Water Land There?
On a freestanding tub, the water should land in the center of the tub, not near a wall — which is why floor-mount fillers use a tall, curved gooseneck that reaches over the rim and pours down the middle. There’s essentially no “wall splash” problem with a freestanding setup, but there is a different concern: the filler’s spout height and the pour volume can splash water outside the tub if the gooseneck is too tall or the flow rate is high. Aim for a filler whose spout outlet sits 4–6 inches above the tub rim and directs water inward.
Freestanding fillers also have their own maintenance quirks around the base and valve. If you already own one and it’s dripping or losing pressure, our guide to free standing tub faucet repair covers the parts and fixes in detail.
How Do I Stop the Stain and Mildew Under My Bathtub Faucet?
Stop under-faucet stains by keeping the surface dry and sealed: fix the splashing first (correct spout reach), then reseal the joint with a quality mildew-resistant silicone caulk and wipe the zone dry after baths. Stains under the faucet are a symptom of chronic moisture, so the durable fix is stopping the water source, not just scrubbing.
The typical culprit sequence goes like this: water clings to a short spout, keeps the caulk line damp, soap scum and minerals build up in that wet strip, and mildew colonizes it. Bleach and scrubbing clear it temporarily, but it comes right back because the moisture never stops. Break the cycle in this order:
- Fix the water path. Longer-reach spout or corrected mounting, as above. This is the non-negotiable first step.
- Strip and reseal the joint. Cut out the old, blackened caulk under and around the spout base, let it dry fully, and re-caulk with a 100% silicone product rated for mildew resistance. Skip painters’ latex caulk here — it fails fast in a splash zone.
- Choose a non-porous surface. If your under-faucet area is grout or a porous stone ledge, it will keep staining. Solid-surface, acrylic, or glazed tile with sealed grout holds up far better.
- Wipe it dry. Ten seconds with a towel after a bath removes the standing water that mildew needs. Boring, but it works.
If you’re also seeing your fixture finish itself degrade — flaking, spotting, or discoloration on the spout — that’s a finish-durability issue, not just mildew, and worth reading about in our piece on why a brushed nickel faucet peels and how to stop it.
What Reach and Height Should the Faucet Have for a Standard Tub?
For a standard 30–32 inch wide alcove tub, mount a wall spout so its outlet reaches 4–6 inches out from the finished wall and sits about 4 inches above the tub’s flood rim (the overflow line). This keeps water landing well inside the tub while leaving room to fit a bucket or your hand under the spout.
Some quick reference numbers we give customers at adeaga:
| Measurement | Recommended Range | Why It Matters |
|---|---|---|
| Spout reach (wall to outlet) | 4–6 in | Breaks water cleanly off the spout, avoids wall run-down |
| Spout height above tub rim | 3–5 in | Enough clearance to fill a bucket; not so high it splashes |
| Spout-to-tile gap (behind spout) | Flush, fully sealed | Prevents water tracking behind the wall |
| Slip-fit copper stub diameter | 1/2 in (nominal) | Standard for most slip-fit spouts; check before buying |
Before you buy any replacement spout, measure two things: whether your current spout is slip-fit (smooth pipe, spout secured by a set screw underneath) or threaded (screws onto a threaded nipple), and the distance from the wall to where the pipe emerges. Buying the wrong connection type is the single most common return we see. If you want a fuller walkthrough of the accessories and attachments that mount in this zone, our guide to the bathtub faucet attachment options and how to pick the right one breaks down every fitting.
Can I Replace the Under-Faucet Spout Myself?
Yes — replacing a tub spout is one of the most beginner-friendly plumbing jobs, usually taking 10–20 minutes with no special tools for a slip-fit spout and only an Allen wrench and plumber’s tape for threaded types. You rarely need to shut off the main water because the spout is downstream of the valve.
The basic sequence: for a slip-fit spout, loosen the set screw on the underside with a hex/Allen key and pull the spout straight off. For a threaded spout, turn it counterclockwise to unscrew. Clean the pipe, wrap fresh plumber’s tape on threaded connections, and reverse the process. If your old spout is corroded or seized on, don’t force it — read our guide on how to replace an old faucet on a bathtub without calling a plumber and the tips on handling corroded faucet removal without snapping the pipe, because a snapped stub-out turns a 15-minute job into a wall-opening repair.
Which Finish Holds Up Best in the Constantly-Wet Under-Faucet Zone?
For the splash-heavy under-faucet area, PVD-coated finishes (like PVD brushed nickel, matte black PVD, or brushed gold PVD) hold up best because the coating is bonded at a molecular level and resists the water spotting, mineral etching, and cleaner damage that plague electroplated finishes. Chrome is the budget-durable classic; avoid cheap electroplated “specialty” finishes in hard-water homes.
The under-faucet zone is the harshest spot on the whole fixture — it’s wet constantly, hit with hard-water minerals, and scrubbed with cleaners. Here’s how the common finishes rank for that specific abuse:
- PVD finishes (brushed nickel, matte black, brushed gold): Best all-around durability. Won’t spot or corrode easily, tolerates most cleaners. Costs a little more up front.
- Polished chrome: Extremely durable and cheap, but shows water spots readily — fine if you wipe it down.
- Standard (non-PVD) brushed nickel: Good look, but the coating can peel or cloud over years of wet exposure.
- Oil-rubbed bronze: Living finish that changes over time; beautiful but not for people who want it to stay identical.
If durability is your top priority, our deep-dive on whether a matte black PVD faucet is worth it in 2026 explains why PVD is genuinely different from painted or plated black finishes — which matters enormously in a wet zone.
Quick Buyer’s Checklist for the Bathtub Under-Faucet Setup
- Confirm your tub style (alcove, drop-in, or freestanding) — this decides faucet type.
- Measure spout reach and pick 4–6 in for wall-mount to avoid wall run-down.
- Check slip-fit vs threaded connection before ordering.
- Choose a PVD or chrome finish for the wet zone.
- Reseal the under-faucet joint with 100% silicone, not latex caulk.
- Keep the surface under the faucet non-porous and wipe it dry after baths.
FAQ
What is the ideal reach for a bathtub spout so water doesn’t hit the wall?
A reach of 4–6 inches from the finished wall to the spout outlet is ideal for most alcove tubs. This distance lets water break cleanly off the spout and land inside the tub instead of clinging back to the wall (the teapot effect). If water still runs down the wall with a 5–6 inch spout, check that the spout is mounted flush and sealed, and that the copper stub-out is set at the correct depth.
Why does the area under my tub faucet keep turning black?
Black staining under a tub faucet is mildew feeding on chronic moisture — usually from a short spout that keeps the caulk line damp, combined with soap scum and mineral buildup. Fix the splashing first (correct spout reach), then cut out and replace the old caulk with mildew-resistant 100% silicone, and wipe the area dry after each bath. Scrubbing alone won’t hold because the moisture source is still there.
Can I put a wall-mount spout on a freestanding tub?
No. A freestanding tub sits away from any wall, so there’s nothing to mount a wall spout to. You need a floor-mount tub filler (a tall gooseneck that rises from the floor and pours into the tub’s center) or, for some models, a deck-mount or tub-rim-mounted faucet. Trying to serve a freestanding tub from a distant wall spout leaves water landing near the rim and splashing onto the floor.
Is it hard to replace the spout in the under-faucet area myself?
For most people, no. A slip-fit spout comes off in about 10 minutes by loosening one set screw and pulling straight out; a threaded spout unscrews counterclockwise. You usually don’t need to shut off the main water. The one thing that turns it difficult is corrosion — if the spout is seized onto the pipe, stop and follow a corroded-removal method so you don’t crack the stub-out inside the wall.
What finish lasts longest in the constantly-wet spot under the faucet?
PVD-coated finishes last longest because the coating is vacuum-bonded and highly resistant to water spotting, mineral etching, and cleaning chemicals. Polished chrome is also very durable and cheaper, though it shows water spots. Standard electroplated brushed nickel and cheaper specialty finishes are more prone to clouding and peeling in a splash zone, especially in hard-water homes.
Do I need a beauty ring or escutcheon under the tub spout?
You need one whenever there’s a visible gap where the spout meets the wall — which is most slip-fit installations. The beauty ring (escutcheon) covers the hole and, more importantly, when sealed with caulk it stops splash water from tracking behind the tile into the wall cavity. It’s a cheap part that prevents an expensive hidden-moisture problem.
The adeaga Take — and a Note on Testing
We test tub spouts, fillers, and deck faucets against real-world abuse: hard-water spray cycles, cleaner exposure, and repeated set-screw removal to check thread durability. Fixtures we carry meet standard low-lead (NSF/ANSI 372) and flow-rate expectations, and reputable tub faucets should carry a manufacturer warranty on both the valve mechanism and the finish — read that warranty before you buy, because finish coverage is where cheap fixtures quietly cut corners. When a spout’s finish is only warranted for a year, that tells you something about how it’ll hold up in the wettest zone of your bathroom.
Author note: This guide was written by the adeaga fixtures team, who source, install, and stress-test bathtub faucets and tub-spout hardware for a living. We’ve pulled hundreds of seized spouts, resealed as many under-faucet joints, and matched spout reach to tub width across alcove, drop-in, and freestanding setups. Our advice here is what we’d tell a friend standing in the bathroom aisle — practical, spec-driven, and honest about trade-offs.