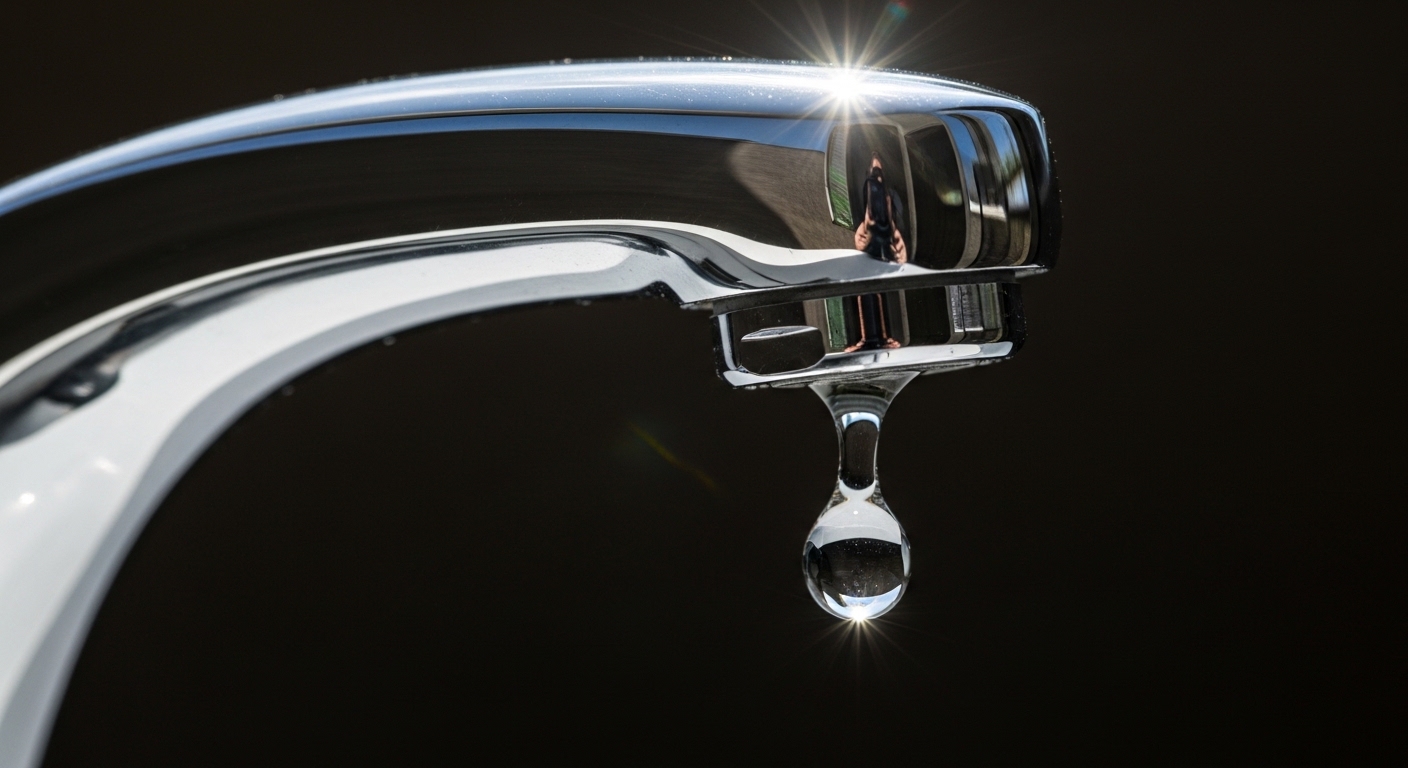
If you’ve searched “leaky faucet nosebleed,” you already know the feeling: a tap that keeps drip… drip… dripping no matter how hard you crank the handle, like a nosebleed that just won’t clot. The good news is that this is one of the most fixable plumbing problems there is. A leaky faucet nosebleed is a symptom, not a mystery — water is escaping past a seal that has worn out, hardened, or gotten chewed up by mineral grit. Find the seal, swap it, and the “bleeding” stops. Below is exactly how to figure out which part failed and fix it yourself.
What does a “leaky faucet nosebleed” actually mean?
It’s a plain-English way of describing a faucet that drips continuously and won’t stop, even when the handle is fully closed. There’s no medical or plumbing textbook term for it — people just reach for the nosebleed image because both are slow, steady, annoying leaks that seem to have a mind of their own.
Mechanically, every faucet closes by pressing a moving part against a fixed part to seal off the water. In a compression faucet, a rubber washer squeezes down onto a brass valve seat. In a modern single-handle faucet, a cartridge slides or rotates so its ceramic discs or rubber seals line up to block flow. When either of those sealing surfaces is worn, torn, cracked, or coated in limescale, water sneaks past — and you get the endless drip. So a “leaky faucet nosebleed” is really just a worn seal announcing itself.
One important distinction: a drip from the spout is a seal problem inside the valve. A leak from the base of the handle or the body when the water is running is usually a bad O-ring or packing nut, not the same fix. Knowing which one you have saves you from buying the wrong part.
Why won’t my faucet stop dripping like a nosebleed?
Because one of four cheap parts has failed — and until you replace the guilty one, tightening the handle only makes it worse. Cranking a worn washer harder actually grinds it flatter and scores the seat, so a “just crank it tighter” faucet gets leakier over time, not tighter.
Here are the usual suspects, in the order you should suspect them:
- Worn rubber washer — the #1 cause in older compression (two-handle) faucets. The washer flattens and cracks after years of being squeezed. A 10-cent part.
- Cracked or flattened O-ring — a small rubber ring that seals the cartridge or the spout swivel. When it hardens with age, water weeps past.
- Failed cartridge — in single-handle and many modern faucets, the whole cartridge is a replaceable unit. Ceramic-disc cartridges can chip; the rubber seals inside can tear.
- Damaged valve seat — the fixed brass surface the washer presses onto. Hard water and grit pit it, so even a brand-new washer can’t seal. This one you either resurface or replace.
Two things speed all of this up: hard water (mineral deposits act like sandpaper on seals) and high water pressure (anything over about 80 psi hammers seals and shortens their life). If you keep replacing washers and the nosebleed keeps coming back, get a $10 pressure gauge and check your line — a pressure-reducing valve may be the real fix.
How do I stop a leaky faucet drip myself, step by step?
Shut off the water, take the faucet apart down to the worn seal, replace that one part, and reassemble — it’s genuinely a 20–30 minute job for most faucets. Here’s the sequence that works whether you have a two-handle compression faucet or a modern single-handle cartridge model.
- Turn off the water. Close the two shutoff valves under the sink (righty-tighty). No under-sink valves? Shut the main. Then open the faucet to drain the line and relieve pressure.
- Plug the drain. Drop in a stopper or a rag so you don’t lose the tiny retaining clip or screw down the hole. This is the step people skip and regret.
- Pop the handle cap and remove the handle. Pry off the decorative button, then undo the screw underneath (often a Phillips or a hex/Allen set screw). Pull the handle straight up.
- Remove the retaining nut or clip. Use an adjustable wrench for the packing nut, or needle-nose pliers to pull the horseshoe-shaped retaining clip on a cartridge faucet.
- Pull the cartridge or stem. Grip and pull straight up. If it’s stuck from limescale, a cartridge puller tool or gentle wiggling frees it. Note its orientation — it goes back in the same way.
- Inspect and replace the worn part. Look at the washer, O-rings, and seals. If any are flat, cracked, brittle, or torn, that’s your nosebleed. Take the old part to the store to match it exactly, or replace the whole cartridge.
- Check the valve seat. Run a finger inside — if it feels rough or pitted, resurface it with a seat-dressing tool or replace it. A perfect seat with a new washer is what actually stops the drip.
- Reassemble and test. Reverse the steps. Turn the water back on slowly, run the faucet, and watch for 60 seconds. No drip = fixed.
A quick tip: smear a dab of plumber’s silicone grease on new O-rings before installing. It helps them seat, seals better, and makes the next repair far easier. If your cartridge fights you on the way out, the same corrosion tricks used for a fully seized valve apply — our guide on a bathtub faucet that’s jammed and won’t budge walks through freeing stuck internals without cracking the body. And if the drip is specifically from a threaded stem faucet rather than a cartridge, the step-by-step in how to replace a bathroom faucet stem that keeps dripping covers that exact valve type.
Which part is causing my leaky faucet nosebleed — a quick diagnosis table
Match your symptom to the likely culprit before you buy anything. This is the fastest way to stop guessing and only make one trip to the hardware store.
| Symptom | Most Likely Cause | Typical Part Cost | Fix Difficulty |
|---|---|---|---|
| Steady drip from spout, two-handle faucet | Worn rubber washer | $1–$5 | Easy (20 min) |
| Drip from spout, single-handle faucet | Failed cartridge | $10–$40 | Easy–Moderate (30 min) |
| Leak at base of handle when running | Cracked O-ring / packing | $2–$8 | Easy (25 min) |
| New washer still drips | Pitted valve seat | $5–$15 | Moderate (40 min) |
| Drip only in cold or only in hot side | Failed seal on that stem/cartridge | $5–$40 | Easy–Moderate |
| Weak flow + drip together | Limescale in cartridge & aerator | $5–$40 | Easy (clean or swap) |
Notice that last row: hard water often causes a drip and a weak stream at the same time, because the same mineral scale clogs the aerator and chews up the seals. If your flow is spitty or slow, descaling the aerator is worth doing while you’re in there — the approach in our clogged tap aerator cleaning guide works on almost any brand of faucet, not just the one in the title.
Is it worth fixing a leaky faucet, or should I just replace the whole thing?
Fix it first — a drip is a seal, not a dead faucet, and a $5 washer or a $20 cartridge is far cheaper than a new fixture plus installation. Replacing seals is the right call for maybe 85% of drips. You only jump to a full replacement when the faucet body itself is the problem.
Replace the whole faucet when:
- The faucet body is cracked or corroded through and leaks from the casting, not the valve.
- The finish is flaking or peeling and you were already unhappy with it — a peeling finish means the plating is failing and won’t get better. (See our piece on why a brushed nickel faucet peels for what’s actually happening under that coating.)
- Parts are discontinued and you can’t source a matching cartridge or washer set.
- You’ve resurfaced the seat and swapped seals more than twice and it keeps coming back — the internals are worn beyond spec.
For everyone else, the seal repair is the smart money. A quality faucet is engineered to run for years once the wear part is fresh, and manufacturers sell repair kits precisely because they expect you to rebuild the valve, not bin the faucet.
How much water is a dripping faucet actually wasting?
A faucet dripping once per second wastes roughly 5 gallons a day — about 2,000 gallons a year, enough for dozens of showers, and a faster drip can waste several times that. That’s the real reason not to “live with it.” Beyond the water bill, a chronic drip keeps the sink basin wet, which stains, breeds mildew, and — on a hot-water side — quietly runs your water heater.
There’s also the hidden cost: a slow drip that runs down inside the faucet body or supply line can corrode the shutoff valves and swell the vanity. Stopping the nosebleed early keeps a $5 fix from turning into a cabinet repair.
When should I actually call a plumber?
Call a pro when the leak isn’t at the faucet valve at all — meaning water is coming from the supply lines, the shutoff valves won’t close, or a pipe connection is weeping behind the wall. Those are pressurized-line problems, not seal swaps, and they can flood a cabinet fast.
Specifically, get help if:
- The under-sink shutoff valves are seized and you can’t stop the water to work safely.
- You see water at a threaded pipe joint or the wall, not the faucet itself.
- The faucet or supply nuts are corroded solid and you risk snapping a pipe removing them — the careful approach in our corroded faucet removal guide can save the job, but if the pipe flexes or you hear cracking, stop.
- You’ve done the seal swap correctly and it still leaks, pointing to a body crack or a valve seat you can’t resurface.
Everything upstream of the faucet — the valves, the supply tubes, the wall connections — is where a small mistake gets expensive. The faucet valve itself, though, is very much DIY territory.
FAQ
Why does my faucet drip hours after I turn it off?
That’s usually just residual water draining out of the spout, and it should stop within a minute or two. If it keeps dripping steadily for 10+ minutes, the valve isn’t sealing — you have a worn washer, O-ring, or cartridge letting a trickle through the whole time. That’s the true “leaky faucet nosebleed” and it needs a seal replaced, not more patience.
Can I stop a leaky faucet nosebleed without turning off the water?
No — always shut off the supply first. The moment you loosen the packing nut or pull the cartridge, pressurized water will spray everywhere and can flood the cabinet. Close the two under-sink shutoff valves (or the main), then open the faucet to bleed off pressure before you take anything apart. It’s a 30-second step that prevents a soaked bathroom.
How do I know if I need a new washer or a whole new cartridge?
Look at your handles. Two separate handles that you screw down (they get harder to turn as they close) usually means a compression faucet with a rubber washer — a $1–$5 fix. A single lever or a handle that just rotates smoothly means a cartridge faucet — replace the whole cartridge ($10–$40). When in doubt, pull the part out and take it to the hardware store to match it exactly.
Why does my faucet still drip after I replaced the washer?
Almost always a damaged valve seat. The washer presses onto a brass seat, and if that seat is pitted or scored by mineral grit, a brand-new washer can’t seal against the rough surface. Resurface it with a seat-dressing (reseating) tool or replace the seat entirely. Also double-check you installed the exact right washer size — a slightly-off washer won’t seat properly.
Does hard water cause faucets to leak faster?
Yes, significantly. Mineral deposits from hard water build up on seals and cartridges and act like sandpaper, wearing out rubber and scoring ceramic discs far faster than soft water does. If you’re on hard water, expect to service faucet seals more often, keep the aerator descaled, and consider softening your supply if leaks are chronic across multiple fixtures.
Is a dripping faucet an emergency?
Not usually — a spout drip is annoying and wasteful but rarely urgent, so you can safely wait a day or two to fix it. It becomes urgent if water is pooling under the sink, running down a supply line, or the shutoff valves won’t close, because that can rot the cabinet or flood the floor. In that case, shut the main and address it right away.
Author note: This guide was written by the Adeaga fixtures team, drawing on hands-on faucet rebuilds across compression, ceramic-disc, and cartridge valve types. We’ve torn down and reassembled hundreds of faucets specifically to document where they fail and which repair parts actually match — so the steps above reflect what works on real fixtures, not theory.
About Adeaga: Adeaga is a specialist in faucets and bathroom fixtures, from kitchen pull-downs to vessel-sink and tub fillers. Every faucet we stock is pressure- and cycle-tested against recognized plumbing standards (the kind of durability testing that certifies a valve for tens of thousands of open-close cycles), and our fixtures carry manufacturer warranties covering the valve and finish. If a part in your Adeaga faucet ever fails within its warranty term, we’ll help you source the exact cartridge or seal kit to fix it rather than replace the whole unit.