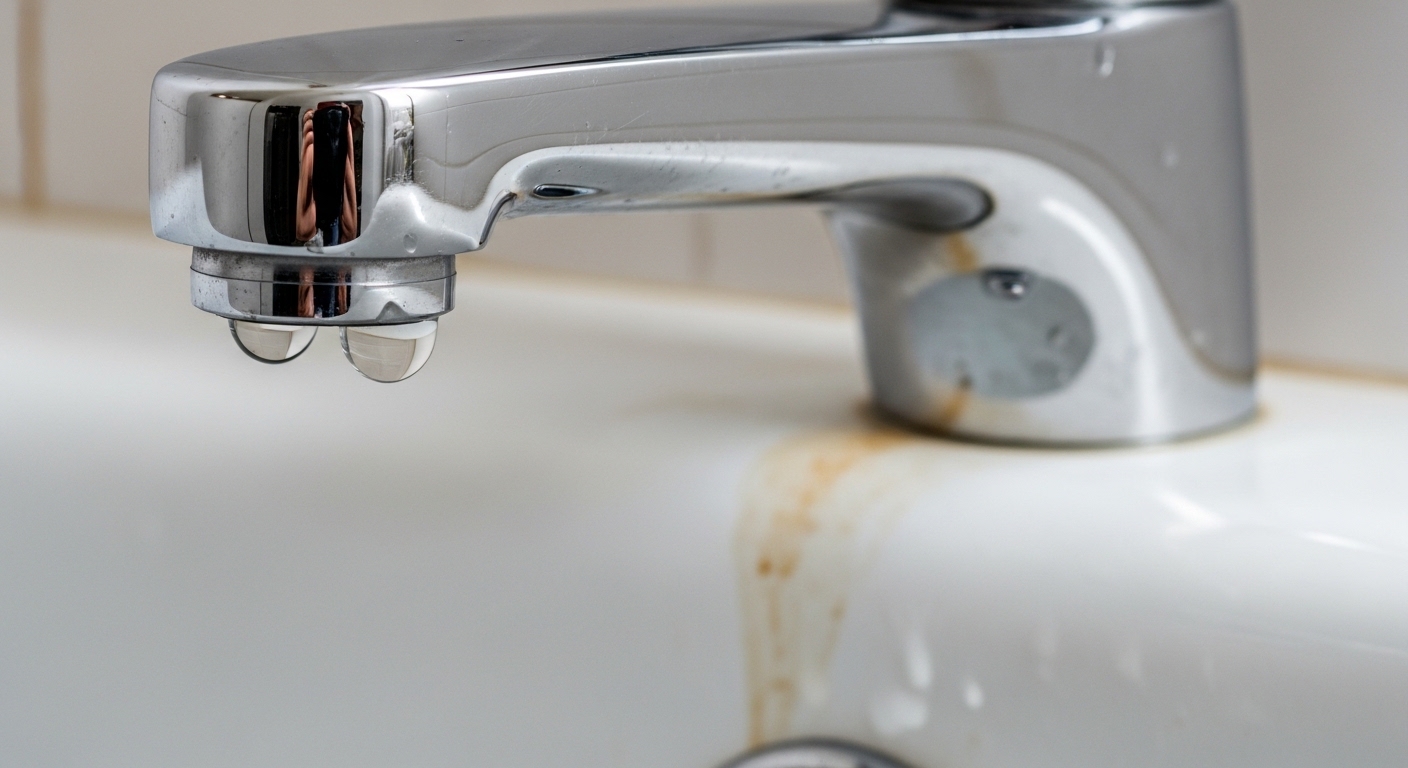
If your tub spout keeps dripping water hours after you’ve turned everything off, that steady drip… drip… drip is not the tub being dramatic — it’s a real, fixable failure inside your shower valve, and every drop is money and water going down the drain. A faucet that leaks one drip per second wastes roughly 3,000 gallons a year. The good news: in the vast majority of homes the culprit is a cheap rubber or ceramic part that has simply worn out, and replacing it is a genuine DIY job for anyone comfortable holding a screwdriver and turning off a water valve.
Below I’ll walk you through exactly why it happens, how to diagnose which part failed (the answer changes the fix), the step-by-step repair, when to actually replace the whole spout, and how to choose a replacement that won’t do this again in a year.
Why does my tub spout keep dripping even after I shut the water off?
Because water is still sneaking past a worn part inside the valve behind the wall — not through the spout itself. The spout is just the exit. When the handle is off, the valve is supposed to seal completely; if a rubber washer, O-ring, seat, or cartridge is cracked, grooved, or stiff with age, it can’t seal, so a thin trickle of pressurized water leaks past and gravity pulls it out the lowest opening: your spout.
Think of it like a garden hose kinked shut with a tiny nick in the kink — pressure finds the weak spot. Inside your wall, the “kink” is your shower valve, and the tub spout sits at the bottom of that plumbing, so it becomes the drain for any water that gets past the seal. That’s why the drip continues long after everyone’s out of the shower.
Three things push a valve into this failed state:
- Age and wear: rubber washers harden and crack; ceramic cartridges develop scoring after years of on/off cycles.
- Hard water: mineral scale builds up on the valve seat, so the washer can’t sit flush. If you’ve got hard water, this is often the real root cause and it will come back unless you address the buildup.
- Grit and debris: a single grain of sand or a fleck of pipe scale lodged on the seat holds the valve open a hair — enough to drip.
Is it the spout, the valve, or the diverter that’s leaking?
Do this 30-second test first: turn the shower on, then off, and watch. If the drip only appears (or gets much worse) while the shower is running, it’s the diverter. If it drips with everything off, it’s the valve cartridge or washer. This one observation decides your entire repair, so don’t skip it.
Here’s how the three main suspects behave differently:
| Symptom you see | Most likely cause | Typical fix | Part cost |
|---|---|---|---|
| Drips from spout with all handles fully off | Worn valve cartridge / washer / seat | Replace cartridge or washer & seat | $8–$40 |
| Water dribbles from spout while showering | Failed diverter (in spout or valve) | Replace diverter spout or diverter cartridge | $12–$35 |
| Leak at the wall where spout meets tile | Bad spout thread seal / caulk | Re-seal with plumber’s tape & caulk | $3–$8 |
| Drip won’t stop even after new cartridge | Pitted or scaled valve seat | Reface or replace the seat | $5–$15 |
If your drip only shows up when the shower is on, you’re really dealing with a diverter problem — I break that exact scenario down in more detail in our guide on why a bathtub faucet leaks when the shower is on, because the fix there is a completely different part than the one you’d replace for an always-on drip.
How do I stop a tub spout from dripping myself — step by step?
Shut off the water, pull the old cartridge or washer, replace it with the exact matching part, and reassemble — that’s the whole job, and it usually takes 30–60 minutes. You don’t need a plumber for this in most cases. Here’s the sequence for the most common cause (a worn valve cartridge or stem washer):
- Turn off the water. Use the shower valve’s built-in stops if it has them, or shut off the house main. Then open the tub spout to drain pressure.
- Plug the drain with a rag or stopper so no screws take a one-way trip down the pipe.
- Remove the handle. Pop off the decorative cap, remove the screw, and pull the handle straight off. Take off the trim plate (escutcheon).
- Identify the guts. Compression valves have a stem with a rubber washer at the end; cartridge valves (Moen, Delta, Kohler, etc.) have a cylindrical cartridge held by a clip or retaining nut.
- Pull the old part. For a cartridge, remove the retaining clip with needle-nose pliers and pull it straight out (a cartridge puller helps if it’s stuck). For a compression stem, unscrew it out.
- Inspect and match. Bring the old cartridge or washer to the store — or photograph the brand stamp — so you buy the exact replacement. Guessing here is the #1 reason DIY repairs fail.
- Check the seat. Shine a light in and feel the valve seat with a fingertip. If it feels rough or pitted, that scale is what’s ruining every washer — clean it or reface it now.
- Grease and install. Coat the new O-rings with silicone plumber’s grease, seat the new part in the same orientation, and reinstall the clip/nut.
- Reassemble and test. Reattach trim and handle, turn the water back on slowly, and watch the spout for 10 minutes. Dry lip = win.
If the handle or cartridge won’t budge — a common problem in hard-water homes where parts seize with scale — don’t force it and crack the valve body. The freeing-up technique in our walkthrough on what to do when a bathtub faucet is jammed applies here too, and it can save you from an expensive in-wall repair.
Why does my tub keep dripping even after I replaced the cartridge?
Because the valve seat — the metal ring the washer presses against — is pitted or crusted with mineral scale, so even a brand-new part can’t seal. This is the single most common reason a repair “doesn’t take.” People replace the washer, the drip returns in a week, and they assume they bought a bad part. Nine times out of ten, the seat was the problem.
Two fixes: for a light case, clean the seat with white vinegar and a non-scratch pad, or use a seat-grinding tool (a $10 gadget) to reface the metal smooth. For a badly corroded seat, replace it — many are removable with a seat wrench. If your home has hard water, this will keep happening to every fixture unless you tackle the mineral buildup, and the same scale is likely clogging your aerators and shower heads too. Our guide on cleaning faucet heads with CLR to remove hard-water buildup covers the descaling routine that protects these repairs long-term.
One more overlooked culprit: mismatched O-rings. If you reused old, hardened O-rings on a new cartridge, they’ll weep and let the valve creep open. Always replace the O-rings and grease them — it costs pennies and prevents a callback to yourself.
Should I repair the drip or just replace the whole tub spout?
Replace the internal part if the valve body is sound (that fixes 90% of drips for under $40); replace the whole spout only if the spout itself is the leaker — a failed diverter or cracked spout casting. These are two different repairs, and knowing which you need saves you buying the wrong thing.
Replace just the spout when: the diverter button won’t stay up, water sprays from the spout while showering, the spout is cracked or corroded through, or the finish has flaked so badly it’s rusting. A new tub spout is a quick swap — slip-fit spouts slide onto a copper stub and lock with a set screw; threaded spouts screw onto a nipple with fresh plumber’s tape.
Here’s a quick decision guide:
| Situation | Repair the valve part | Replace the spout |
|---|---|---|
| Drips with everything off | ✔ Yes — cartridge/washer | ✘ Not needed |
| Leaks only while showering | Maybe (valve diverter) | ✔ Yes if diverter is in the spout |
| Spout is cracked/corroded | ✘ | ✔ Yes |
| Finish flaking, otherwise works | ✘ | ✔ Cosmetic upgrade |
When you do buy a new spout, measure the pipe stub length and note whether yours is slip-fit or threaded — mixing those up is the top reason a “quick” spout swap turns into a second store trip. And if you’re already in there and the finish is dated, this is a low-cost moment to upgrade to a matte black, brushed nickel, or brushed gold spout that matches the rest of your fixtures.
How do I keep my tub spout from dripping again?
Fix the root cause, not just the symptom: descale regularly if you have hard water, don’t over-tighten the handle, and use quality ceramic-disc cartridges instead of cheap rubber washers. Most repeat drips come from the same three habits, and all three are avoidable.
- Stop cranking the handle. Forcing a faucet “extra off” grinds the washer into the seat and accelerates wear. Off is off — snug, not gorilla-tight.
- Descale twice a year if you have hard water. Mineral scale is the quiet killer of every seal in your bathroom.
- Upgrade to ceramic-disc cartridges when your valve supports them. They outlast rubber washers by years because they don’t rely on a soft part deforming to seal.
- Grease your O-rings with silicone plumber’s grease at every service — dry O-rings crack and weep.
A dripping spout is often part of a bigger pattern of small leaks around aging fixtures. If you’re seeing weeping at multiple points, the fundamentals in our pieces on replacing a faucet aerator washer without leaks and why a stubborn leaky faucet drip won’t stop use the same seal-and-seat principles that fix a tub spout, so the skills carry straight over.
What should I look for when buying a replacement tub spout or cartridge?
Match the brand and model first, then prioritize solid brass construction, ceramic-disc internals, and a real warranty — those three things are what separate a spout you fix once from one that drips again next winter. Cheap zinc-alloy spouts and generic rubber-washer cartridges are exactly why so many people are reading this article a second time.
Concrete specs to check before you buy:
- Material: solid brass body resists corrosion and scale far better than pot-metal (zamak). Heft is a decent proxy — a good spout feels heavy.
- Connection type: confirm slip-fit (½”) vs. threaded (½” NPT) and the stub-out length so it seats flush to the tile.
- Internals: ceramic-disc cartridges are rated for hundreds of thousands of cycles; rubber-washer stems for far fewer.
- Finish: PVD-coated finishes (matte black, brushed gold, brushed nickel) resist flaking; cheap electroplate peels.
- Warranty: a limited lifetime warranty on the valve/finish is a strong signal the maker expects it to last.
At Adeaga we design our tub spouts and shower valves around solid-brass bodies and ceramic-disc cartridges specifically to end the drip-repair-drip cycle, and our fixtures are pressure- and cycle-tested to standard industry benchmarks (the same durability and low-lead criteria behind ASME A112.18.1 / NSF 61 compliance) before they ship. That testing is the difference between a spout that seals for a decade and one you’re wrenching on again by next season.
FAQ
How much water does a dripping tub spout actually waste?
A steady drip of one drop per second wastes about 3,000 gallons a year — enough to fill roughly 60 bathtubs, and enough to show up on your water bill. A faster trickle can waste far more, so a $10 cartridge often pays for itself within a couple of billing cycles.
Can I fix a dripping tub spout without turning off the main water?
Only if your shower valve has built-in service stops (small screw-slots on the valve you can close with a flathead). If it doesn’t, you must shut off the house main before opening the valve — otherwise you’ll get a face full of pressurized water. When in doubt, kill the main; it takes two minutes and prevents a flood.
Why does my tub spout drip only in winter or after cold weather?
Temperature swings make rubber washers stiffen and shrink, breaking a seal that was barely holding in summer. Cold also makes pipes contract slightly. If the drip is seasonal, it’s a strong sign the washer or O-rings are near end of life — replace them before the seal fails completely. The same cold-weather logic applies to outdoor fixtures; our outdoor faucet cartridge replacement guide covers the winterizing angle in depth.
Is a dripping tub spout an emergency?
No — it’s a slow-burn problem, not a burst-pipe emergency. But don’t ignore it for months: constant moisture can stain the tub, feed mildew, and the underlying valve wear only gets worse. Aim to fix it within a few weeks, and shut the water off if the drip suddenly becomes a stream.
Do I need a special tool to remove a stuck tub-spout cartridge?
Often yes — a cartridge puller (a $10–$20 brand-specific tool) makes a seized cartridge come out cleanly instead of shredding. Needle-nose pliers work for the retaining clip, and a seat wrench handles a replaceable valve seat. Buying the right small tool is cheaper than the plumber’s visit you’ll need if you break the valve body trying to muscle it.
How long should a tub spout repair last?
A properly done repair with a quality ceramic-disc cartridge, fresh greased O-rings, and a clean valve seat should hold for 5–10 years. If yours fails within months, the valve seat was almost certainly still scaled or pitted — that, not the new part, is what to fix.
Author note: This guide was written by Adeaga’s fixtures team, drawing on hands-on repair and installation of tub, shower, and sink valves across thousands of fixtures. Adeaga designs, tests, and sells bathroom and kitchen fixtures direct to homeowners, and every recommendation here reflects the same standards we build our own products to. When your specific valve model isn’t clear, matching the OEM part number is always the safest first move.