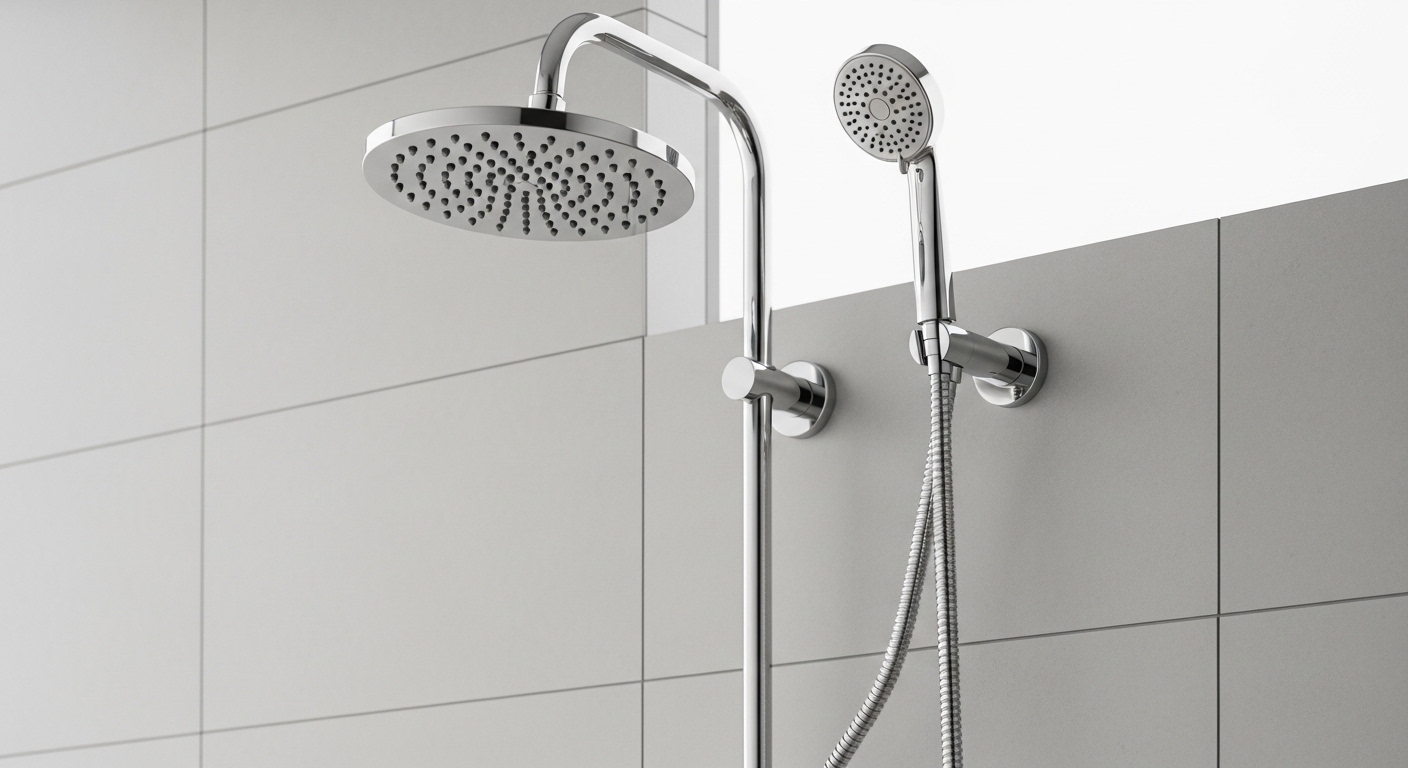
If you want the convenience of a detachable sprayer but don’t want to rip out your shower, a handheld shower head add on is exactly the upgrade you’re looking for. It bolts onto the ½-inch threaded shower arm you already have (the same pipe your current head screws onto), so you keep your existing valve, your existing tile, and your existing plumbing. Below I’ll walk through the three ways to add one, what actually fits, how much water pressure you’ll keep, and how to install it yourself in under 15 minutes.
People ask about this constantly for very practical reasons: bathing kids and dogs, rinsing off after the gym, cleaning the shower walls, or making a shower usable for an aging parent who needs to sit. The good news is that adding a handheld is one of the easiest, most reversible bathroom upgrades there is — no wrench-on-the-valve, no shutting off the house water main.
What Exactly Is a Handheld Shower Head Add On — and How Does It Attach Without Re-Plumbing?
A handheld shower head add on is a kit that adds a detachable hand shower to your shower without touching the pipes inside the wall. It connects to the exposed shower arm — the curved metal pipe sticking out of your wall — so the only “plumbing” you do is unscrewing one threaded joint by hand.
There are three common ways an add-on attaches, and knowing which one you want saves you a return trip to the store:
- Shower-arm diverter combo (most popular): You unscrew your old fixed head, screw a diverter onto the shower arm, then attach both a new fixed head and the handheld hose to that diverter. A little lever switches water between them. This is the “have both” option.
- Slide-bar or wall-bracket kit: The handheld mounts on an adjustable vertical bar or a simple bracket. Great for a seated shower or for households where people are different heights. Some replace the fixed head entirely; others pair with a diverter.
- Replace-the-head handheld: The simplest — you remove the fixed head completely and screw on a single mount that holds only the handheld. Fewest parts, lowest cost, but you lose the overhead spray.
Nearly every add-on in the U.S. uses a universal ½-inch NPT connection, which is the standard shower-arm thread size. That’s why these kits are marketed as “universal fit” — they’ll thread onto virtually any standard shower arm regardless of the brand of your valve behind the wall.
Do I need any special tools or a plumber to install one?
No plumber and, in most cases, no tools beyond your hands and a roll of plumber’s tape (PTFE thread-seal tape). Because everything happens outside the wall on the shower arm, there’s no need to shut off your home’s water main — just turn off the shower itself. The only time you’ll want an adjustable wrench is if your old head is stuck with hardened mineral scale or old tape. Wrap the wrench jaws in a cloth so you don’t scratch the finish.
Which Handheld Shower Head Add On Is Best for My Situation?
The best add-on depends on whether you want to keep your overhead spray, who’s using the shower, and your budget. For most bathrooms, a 3-way diverter combo gives the most flexibility; for a tight budget or a rental, a simple replace-the-head handheld is the smart, low-commitment pick. Here’s how the main types compare.
| Add-On Type | Keeps Fixed Head? | Typical Price | Best For | Install Time |
|---|---|---|---|---|
| 3-way diverter combo | Yes — both | $45–$120 | Families who want overhead + handheld | 10–15 min |
| Diverter valve only (add to existing head) | Yes | $15–$35 | Adding a handheld to a head you like | 10 min |
| Slide-bar handheld kit | Sometimes | $60–$180 | Seated showers, mixed heights, accessibility | 20–40 min (bar mounts to wall) |
| Replace-the-head handheld | No | $25–$70 | Rentals, budgets, simplicity | 5–10 min |
A quick note on the slide-bar option: if you want the bar mounted permanently, you’ll drill into tile, which is the only version that turns this from a hand-tight job into a light DIY project. Many people avoid drilling by choosing a slide bar that uses strong adhesive pads or by mounting the bracket into the existing shower-arm escutcheon instead.
What GPM and spray settings should I actually look for?
Look for a flow rate of 1.8–2.5 GPM and at least three spray settings, because that range gives you both water savings and a strong enough rinse. Federal law caps U.S. shower heads at 2.5 gallons per minute (GPM), and WaterSense-certified models run at 2.0 GPM or lower while still feeling strong thanks to better nozzle design. If you have low household pressure, don’t go below 1.8 GPM or the handheld may feel weak.
Useful spray modes to prioritize: a wide rain/full mode for everyday rinsing, a concentrated massage/jet mode for sore muscles or blasting soap off tile, and a gentle mist for kids. Ignore models bragging about “8 settings” if six of them feel identical — three genuinely different, strong modes beat eight weak novelties.
Will Adding a Handheld Ruin My Water Pressure?
No — a properly chosen handheld add-on won’t ruin your pressure, but a cheap diverter or a kinked hose can drop it noticeably. The water still comes from the same valve at the same pressure; what matters is that the diverter and hose don’t choke the flow. Here’s what protects your pressure:
- Buy a metal (brass) diverter, not thin plastic. Brass diverters have a fuller internal bore and leak far less over time.
- Use a stainless-steel hose, not vinyl. Stainless hoses resist kinking, which is the #1 hidden cause of “my new handheld is weak.”
- Skip the extra flow restrictor if your pressure is already low. Some handhelds have a removable rubber restrictor washer — but check your local code first, since federal flow caps still apply.
- Clean the nozzles. If pressure fades after a few months, it’s almost always mineral buildup — soak the face in white vinegar for an hour.
If your whole house has genuinely low pressure, adding a handheld won’t fix that — but it also won’t make it dramatically worse. For chronic weak flow, the culprit is usually a clogged aerator or cartridge elsewhere in the system, the same way a clogged tap aerator kills flow at a faucet. The fix is cleaning or replacement, not a new shower head.
How Do I Install a Handheld Shower Head Add On Myself?
You can install a handheld add-on in about 10–15 minutes with plumber’s tape and, if needed, a cloth-wrapped wrench. Here’s the exact sequence for the most common 3-way diverter combo:
- Unscrew the old head. Turn it counterclockwise by hand. If it’s stuck, grip the shower arm with one hand and use a cloth-wrapped wrench on the head’s nut so you don’t twist the arm inside the wall.
- Clean the threads. Peel off old tape and wipe mineral crust off the shower-arm threads with a rag.
- Wrap new tape. Wind 3–4 turns of PTFE plumber’s tape clockwise around the arm threads. This is what prevents drips at the joint.
- Hand-tighten the diverter. Screw the 3-way diverter onto the arm until snug, then a quarter-turn more with the wrapped wrench. Don’t crank it — over-tightening cracks plastic diverters.
- Attach the fixed head and the hose. Screw the new fixed head onto the diverter’s top outlet and the flexible hose onto the side outlet (add tape to these joints too). Snug the hand shower onto the other end of the hose — most have a built-in rubber washer, so no tape needed there.
- Test. Run the shower for two minutes and watch every joint for drips. A slow bead means one more quarter-turn or one more wrap of tape.
If your old head is heavily corroded and won’t budge, stop before you snap the shower arm — the same careful approach used for removing a badly corroded faucet applies here: penetrating oil, patience, and counter-gripping the pipe rather than forcing it.
What if my shower arm is a weird angle or too short for a slide bar?
If your shower arm sits at an awkward height or angle, use a slide bar with an adjustable-angle bracket or add a swivel ball adapter, which lets the handheld sit where you actually want it. Short arms are common in older homes; a $10 brass extension nipple or an S-shaped arm can add the reach you need without opening the wall. If you’re combining fixtures and want the geometry to look intentional rather than tacked-on, plan the layout the way you would for a coordinated setup — the same thinking behind choosing a full matched shower system, just at add-on scale and price.
Are Handheld Add-Ons Worth It for Cleaning, Kids, and Accessibility?
Yes — for cleaning, bathing children and pets, and accessibility, a handheld add-on is one of the highest-value bathroom upgrades per dollar. Being able to aim the water is a genuine daily convenience, not a gimmick. Real scenarios where it pays off:
- Cleaning: Rinsing shampoo off shower walls, glass doors, and the tub takes seconds instead of splashing cupfuls of water around.
- Kids and pets: A gentle spray you can bring down to their level beats trying to maneuver a squirming toddler or a soapy dog under a fixed head.
- Accessibility: Paired with a shower stool, a handheld on a slide bar makes bathing possible for someone who can’t stand safely. Look for a hose length of 60–72 inches and an easy-grip handle.
- Post-workout and hair-washing: A concentrated jet rinses out conditioner and sweat far faster than standing under a static stream.
The main downside is one more joint that can eventually drip, and a hose that needs occasional descaling. Both are minor and cheap to maintain. For the vast majority of households, the flexibility is well worth the tradeoff.
How Much Should I Spend, and What Separates a Good Kit From a Cheap One?
Spend $40–$90 for a quality handheld add-on that will last years; below about $25 you’re usually buying thin plastic that leaks or fades. Price isn’t everything, but a few construction details reliably separate a keeper from junk:
| Feature | Cheap Kit (avoid) | Quality Kit (buy) |
|---|---|---|
| Diverter body | Thin ABS plastic | Solid brass or heavy metal |
| Hose | Vinyl, kinks easily | Stainless steel, double-crimped |
| Finish | Sprayed coating that peels | Electroplated chrome or PVD |
| Washers | Loose, missing spares | Silicone with spare set included |
| Warranty | None | Limited lifetime or 5+ years |
A peeling finish is a common regret with bargain fixtures — the same coating failure that makes a brushed nickel faucet start peeling shows up on cheaply plated shower heads within a year. Pay a little more for real electroplating or PVD and the finish stays put. Also confirm the kit meets ASME A112.18.1 / CSA B125.1 plumbing standards and carries a WaterSense label if water savings matter to you — those marks mean the product was independently tested for flow, durability, and safe materials.
FAQ
Will a handheld shower head add on fit any shower?
Almost always, yes. U.S. shower arms use a universal ½-inch NPT thread, and virtually all add-ons are made to match it. The rare exceptions are some imported or built-in ceiling-mount rain systems with concealed connections — if your head comes straight down out of the ceiling with no exposed arm, a standard arm-mounted add-on won’t work.
Can I keep my existing fixed shower head and still add a handheld?
Yes — that’s exactly what a 3-way diverter is for. It screws between your shower arm and your existing (or a new) fixed head, adds a side outlet for the handheld hose, and a small lever lets you run the fixed head, the handheld, or both at once.
How long should the handheld hose be?
60 inches (5 feet) is the common default and works for most standing showers. For a seated or accessibility shower, or a deep tub, choose 72 inches so you can comfortably reach your feet or the far end of the tub without the hose pulling taut.
Do handheld add-ons leak over time?
They can at the threaded joints if the plumber’s tape wasn’t wrapped properly, but a correctly installed kit stays dry for years. If you ever get a drip, it’s almost always fixed by re-wrapping the joint with 3–4 turns of fresh PTFE tape — you don’t need to buy a new unit.
Is it legal to remove the flow restrictor to boost pressure?
It’s a gray area. U.S. federal rules cap shower heads at 2.5 GPM, and removing the restrictor to exceed that isn’t compliant. If your pressure is genuinely low, a better first step is cleaning the nozzles and choosing a hose that doesn’t kink — that recovers most of the flow you’re missing without breaking any rules.
What maintenance does a handheld add-on need?
Very little — mainly descaling. Every few months, unscrew the hand shower, soak the nozzle face in white vinegar for an hour, and rub off loosened mineral deposits. Check the joints for drips once or twice a year. That’s the whole routine.
Author note: This guide was written by the adeaga fixtures team, drawing on hands-on installation and testing of dozens of shower heads, diverters, and hoses across a range of home water-pressure conditions. adeaga (adeaga.net) specializes in faucets and bathroom fixtures, and we base our recommendations on real product teardowns, flow-rate testing against ASME A112.18.1 and WaterSense criteria, and long-term finish-durability checks — not spec sheets alone. Always confirm your local plumbing code and your product’s warranty terms before installing.