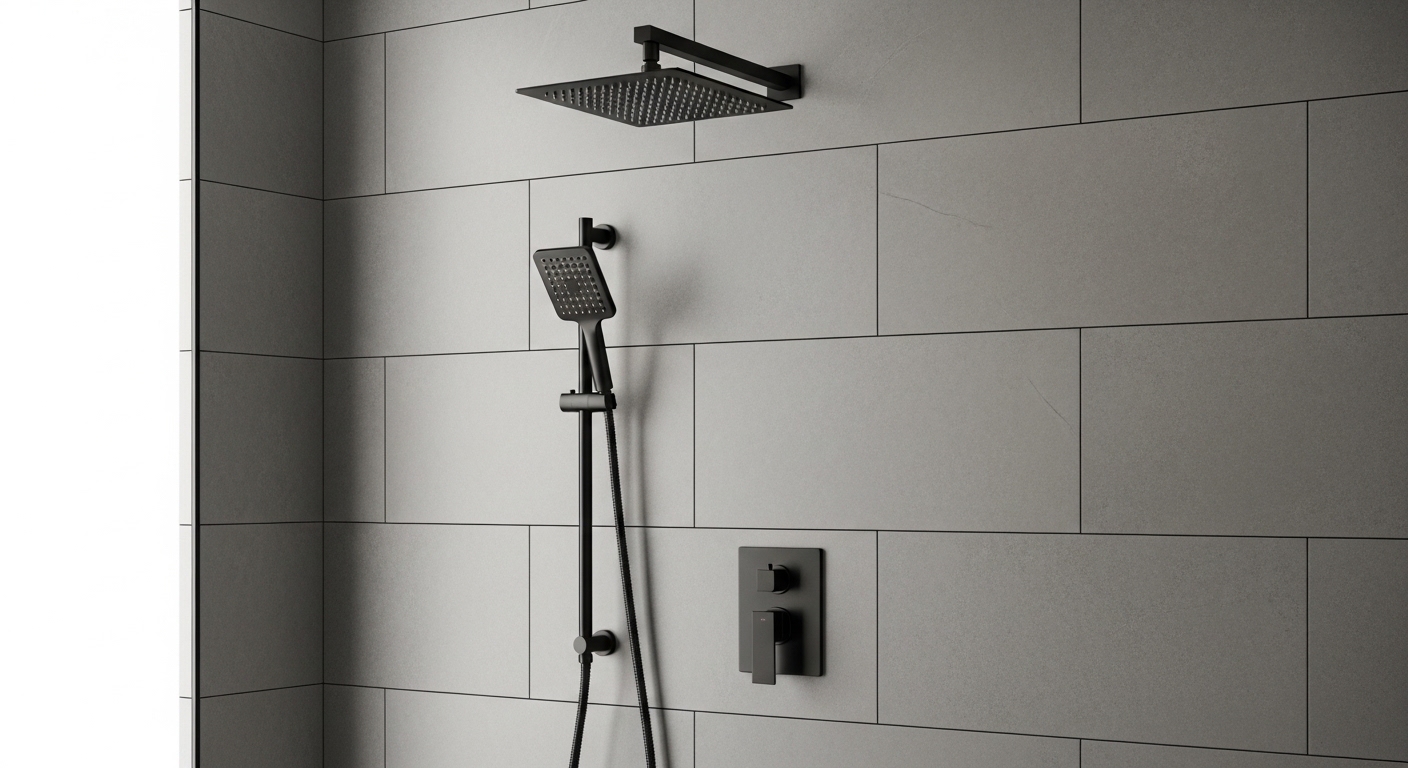
Choosing a shower system for tile is really two decisions rolled into one: which fixtures you want spraying on you, and whether the valve behind the tile is set at the right depth and sealed so your beautiful new tile job doesn’t rot from the inside out. Most people obsess over the first part — rain head or handheld, chrome or matte black — and completely ignore the second, which is the part that actually causes leaks, callbacks, and mold. This guide covers both, in plain language, so you buy the right kit once and install it so it lasts 15+ years.
Tile changes the math compared to a fiberglass surround. Tile is unforgiving: you can’t easily move a valve after the thinset cures, the wall is thicker because of the backer board and mortar bed, and every penetration through the glaze is a potential water path. So the “best” system for a tile wall isn’t just the prettiest one — it’s the one whose rough-in valve, escutcheon, and mounting hardware are designed to sit correctly in a thick, rigid, water-sensitive wall.
What exactly is a “shower system,” and do I need one for a tiled shower?
A shower system is a coordinated set of fixtures fed by one or more valves — typically a showerhead (often a rain head), a handheld sprayer, sometimes body jets, and a single control trim, all in a matching finish. For a tiled shower, you almost always want a true system rather than piecing together random parts, because the trim plates and escutcheons are designed to cover the openings you cut in the tile cleanly and seal against a flat glazed surface.
You don’t strictly need a multi-outlet system — a single pressure-balanced valve with one good head works fine. But tile is expensive and permanent, so this is the moment to add the outlets you’ll want later. Running a second supply line for a handheld or body sprays is trivial while the wall is open and nearly impossible once the tile is set. The system approach also guarantees the finishes match, which matters visually against a large field of tile where a mismatched chrome handle jumps out.
Two core outlet setups cover most tiled bathrooms:
- Rain head + handheld: the most popular combo. A fixed overhead rain head for immersion, plus a handheld on a slide bar for rinsing, cleaning the shower, or seated bathing. A diverter switches between them.
- Rain head + handheld + body jets: a “spa” setup. Beautiful, but body jets need a lot of flow (GPM) and often a 3/4″ valve — overkill for many homes and a real plumbing commitment behind tile.
Pressure-balanced or thermostatic valve — which is right behind tile?
For most homes, a pressure-balanced valve is the affordable, code-compliant choice; a thermostatic valve is the upgrade worth paying for if you run two or more outlets at once or hate temperature swings. Both prevent scalding, but they do it differently, and the difference matters more in a tiled shower because you can’t cheaply swap the valve later.
A pressure-balanced valve keeps water temperature steady by reacting to pressure changes — when someone flushes a toilet, it dials back the hot to match the drop in cold, so you don’t get scalded. It’s single-handle, inexpensive, and meets ASME A112.18.1 anti-scald requirements. The limitation: it holds temperature but not with the precision of a thermostatic unit, and it can’t independently control volume.
A thermostatic valve holds an exact temperature you dial in, independent of pressure, and usually pairs with separate volume controls so you can run a rain head and handheld simultaneously at full temperature. If you’re building the rain-plus-handheld system above and want both running together, thermostatic is the honest answer. It costs more and the rough-in body is larger, so confirm it fits your stud bay before you tile.
| Valve type | Best for | Anti-scald | Multi-outlet at once | Typical trim cost |
|---|---|---|---|---|
| Pressure-balanced | Single head, budget builds, rentals | Yes (ASME A112.18.1) | Limited | $80–$200 |
| Thermostatic (single volume) | Precise temp, one outlet | Yes | No | $200–$400 |
| Thermostatic + volume controls | Rain + handheld together, spa systems | Yes | Yes | $350–$800+ |
Whatever you pick, the critical spec is rough-in depth. Every valve has a range — a minimum and maximum distance from the finished wall surface to the valve body. Your tile wall is thick: backer board plus thinset plus tile can add 5/8″ or more over the framing. Buy a valve whose depth range covers your actual buildup, and set it with the printed plaster guard flush to where the finished tile face will land. Get this wrong and the trim either won’t reach the wall or floats a half-inch off it.
How do I mount a rain head and handheld through tile without cracking it?
You mount into solid blocking behind the tile, never into hollow backer board alone, and you drill tile with a diamond bit at low speed with water — cracks come from heat and hammering, not from the tile being fragile. Plan the blocking before you close the wall; that’s the step people skip and regret.
Here’s the sequence that keeps tile intact:
- Add wood blocking between studs behind every mounting point — the valve, the slide bar top and bottom brackets, and the shower arm drop for a ceiling or wall rain head. This gives your screws something to bite that won’t pull out.
- Mark and drill with a diamond hole saw or bit, low RPM, keeping a trickle of water on the bit to cool it. Start at an angle to break the glaze, then straighten up. No hammer drill mode.
- Use plastic anchors rated for tile or, better, hit the wood blocking directly. Don’t overtighten — snug, not gorilla-tight, or you’ll crack the glaze around the screw.
- Seal every penetration with 100% silicone behind escutcheons and around the shower arm. This is the single most important waterproofing step and the one most DIYers get wrong.
For a ceiling-mounted rain head especially, the shower arm drop needs rock-solid blocking — a rain head full of water is heavy and cantilevers off that arm. If your handheld experience is new to you, our guide on the best handheld shower head add-ons walks through slide-bar versus wall-hook mounting and hose lengths, which is useful before you commit to bracket locations in tile you can’t move.
Why do you seal the escutcheon with silicone and not grout?
Because grout is porous and cracks, while silicone stays flexible and waterproof — grout around a shower trim plate will wick water behind your tile and cause the exact hidden rot you’re trying to avoid. This is a small detail that separates a shower that lasts from one that leaks silently for two years before you notice a soft spot.
The escutcheon (the round or square trim plate behind your handle and showerhead) covers the hole in the tile, but the actual waterproofing happens at the bead of silicone between the plate and the tile face — and just as importantly, at the caulk seal behind the plate against the valve. Leave the bottom of the escutcheon unsealed by a small gap, or a weep, so any water that does get behind it can drain out and evaporate rather than being trapped. Trapped water is what grows mold.
The same logic applies to the valve trim and any diverter. If you’ve ever dealt with a tub faucet leaking when the shower is on, you already know how a bad diverter or seal quietly sends water where it shouldn’t go — in a tiled wall that same failure hides behind the tile instead of dripping into the tub where you’d see it.
Which finish holds up best on a tiled shower — and which one hides water spots?
Brushed nickel and matte black hide water spots and mineral scale best, while polished chrome shows every droplet and fingerprint — so if you have hard water, go brushed or matte. Finish is the most visible decision against a tile wall, and it’s also a durability decision, because the shower is the harshest environment in the house for metal.
| Finish | Hides water spots? | Hard-water friendly | Style notes |
|---|---|---|---|
| Brushed nickel | Yes | Excellent | Warm, forgiving, timeless against most tile |
| Matte black | Yes (but shows dried mineral scale) | Good | Bold, modern; pairs with white/grey tile |
| Brushed gold / champagne bronze | Yes | Very good | Warm luxe look; stays on-trend against neutral tile |
| Polished chrome | No | Fair | Classic, cheapest, but shows every spot |
One practical warning about matte black: it hides water but shows dried white mineral scale if you have hard water, so it needs a quick wipe-down. Brushed finishes are the most forgiving all-around. And here’s a construction tip — whatever finish you choose for the shower system, buy your drain, hinges, and any niche trim in the same finish family at the same time. Matching a discontinued finish a year later against your tile is a headache.
If your home has hard water, the finish is only half the battle — the aerators and spray faces clog with scale. Keeping a routine like our walkthrough on cleaning a faucet or shower head with CLR handy will keep any shower system spraying evenly for years instead of turning into a dribbling, crusted-over mess.
How much water will a full shower system use — and will my pipes handle it?
A single showerhead in the U.S. is federally capped at 2.5 GPM, but a multi-outlet system running a rain head and a handheld and body jets together can easily demand 6–10+ GPM — more than a standard 1/2″ supply line comfortably delivers. That’s the trap of spa systems behind tile: they look great in the showroom and starve for pressure at home.
Do the math before you buy. Add up the GPM of every outlet you might run simultaneously. If that total exceeds what your supply lines and water heater can provide, you either upsize the plumbing to 3/4″ (while the wall is open — do it now or never) or accept that you’ll only run one outlet at a time via a diverter. For most homes, a rain head plus handheld on a diverter (one at a time) is the sweet spot: full pressure to whichever you’re using, no plumbing upgrade required.
If you love strong pressure and are worried a low-flow head will feel weak, note that flow restrictors are removable and adjustable — our guide on installing a shower head flow restrictor explains how to balance water savings against the pressure you actually feel, which is worth reading before you assume you need a higher-flow (and more expensive, more plumbing-hungry) system.
What should I actually buy? A quick decision guide
For most tiled bathrooms in 2026, buy a pressure-balanced or single-volume thermostatic valve with a rain head and handheld on a diverter, in a brushed finish, from a brand that publishes its rough-in depth range and backs the trim with a lifetime finish warranty. Skip body jets unless you’re upsizing your plumbing.
- Budget, single head, rental: Pressure-balanced valve, one head, brushed nickel. Reliable and cheap.
- Most homeowners (recommended): Pressure-balanced or thermostatic valve, rain head + handheld on a diverter, brushed nickel or matte black. Run one outlet at a time — full pressure, no plumbing upgrade.
- Spa build, you have the plumbing: Thermostatic valve with volume controls, 3/4″ supply, rain + handheld + body jets. Confirm GPM math and upsized lines first.
FAQ
Can I install a shower system on tile that’s already up?
Yes for surface-mounted parts, no for the valve. You can drill new tile for a slide bar or a wall-mount handheld bracket and swap trim on an existing valve. But relocating or replacing the valve body itself means opening the wall, which usually means removing tile — so match your new trim to the existing valve brand if you’re keeping the wall closed.
How deep should the valve sit behind the tile?
Exactly within the manufacturer’s printed rough-in range, measured to the finished tile face — not the backer board. Set the plaster guard flush to where the tile surface will land. Tile plus thinset plus backer often adds 5/8″ or more, so a valve set for a fiberglass wall will sit too deep once tile goes on.
Rain head from the ceiling or the wall — which is better for tile?
Both work; wall-mounted on an arm is far easier to seal and support, while ceiling-mounted needs blocking and in-ceiling plumbing but gives true overhead rainfall. For a first tile project, a wall-mounted rain head with a gooseneck arm is the more forgiving, leak-resistant choice.
Do I need a plumber, or can I DIY a shower system on tile?
Setting the valve and soldering or crimping supply lines is a job most confident DIYers can do while the wall is open, but it must pass inspection in many areas and a mistake behind tile is expensive to fix. If you’re comfortable with pressure testing and waterproofing, DIY the rough-in; if not, have a plumber set and test the valve, then tile and install the trim yourself.
Will a matte black shower system look dated in a few years?
Matte black has held strong for over a decade and pairs cleanly with white, grey, and stone tile, so it’s a low-risk choice. If you’re truly worried about trends, brushed nickel is the safest long-term finish — it has never gone out of style and hides water spots on any tile.
How long should a quality shower system last?
A good pressure-balanced or thermostatic valve should last 15–20+ years, with cartridges being the main replaceable wear part. Look for a lifetime limited warranty on the valve and finish — reputable brands cover the cartridge and finish for the original owner, which is a strong signal of build quality.
A note on how we test — and who wrote this
This guide was written by the adeaga fixtures team, drawing on hands-on installs and bench testing of shower valves, diverters, and spray faces for flow rate, temperature stability, and finish durability. adeaga specializes in faucets and bathroom fixtures, and we evaluate every shower system against the standards that matter for tile: ASME A112.18.1 anti-scald compliance for valves, published rough-in depth ranges, and manufacturer finish and cartridge warranties. We recommend only fixtures whose specs we can verify and whose trim we’ve confirmed seals cleanly against a glazed tile surface. When we say a valve holds temperature or a finish hides hard-water spots, it’s because we’ve run water through it — not because a spec sheet said so.